How to Export Apple Health Data to PDF, CSV or JSON
Last updated: April 17th, 2026
By Martin
Co-founder, vitalina

The problem with Apple's built-in health data export
Apple Health does let you export your data as XML, but the result is a single file that can be hundreds of megabytes in size. It contains every data point your iPhone has ever recorded, with no way to filter by metric or date range. The file is not readable by most people, and it is certainly not something you can hand to your doctor. There are no charts, no summaries, and no option to export as PDF, CSV, or any other common format. If you just need your last two weeks of blood pressure readings in a clean report, Apple's built-in export is not the right tool for the job.
vitalina solves this. It reads your Apple Health data directly on your iPhone and lets you pick exactly which metrics you want, choose a date range, and export to a format that actually makes sense for your use case. Here's how.
What you'll need
- An iPhone running iOS 18 or later
- Health data recorded in Apple Health (from Apple Watch, connected apps, or manual entries)
The walkthrough · 8 steps · ~2 min
How to export your health data, step by step
Download vitalina
Download vitalina from the App Store. It's free to use with no account or sign-up required.
Allow access to Apple Health
When you first open vitalina, you'll be asked to grant read-only access to your health data. Tap Allow Health Access and confirm the permissions in the Apple Health prompt.
Your data never leaves your device. vitalina processes everything locally on your iPhone with no cloud uploads, no tracking, and no analytics.

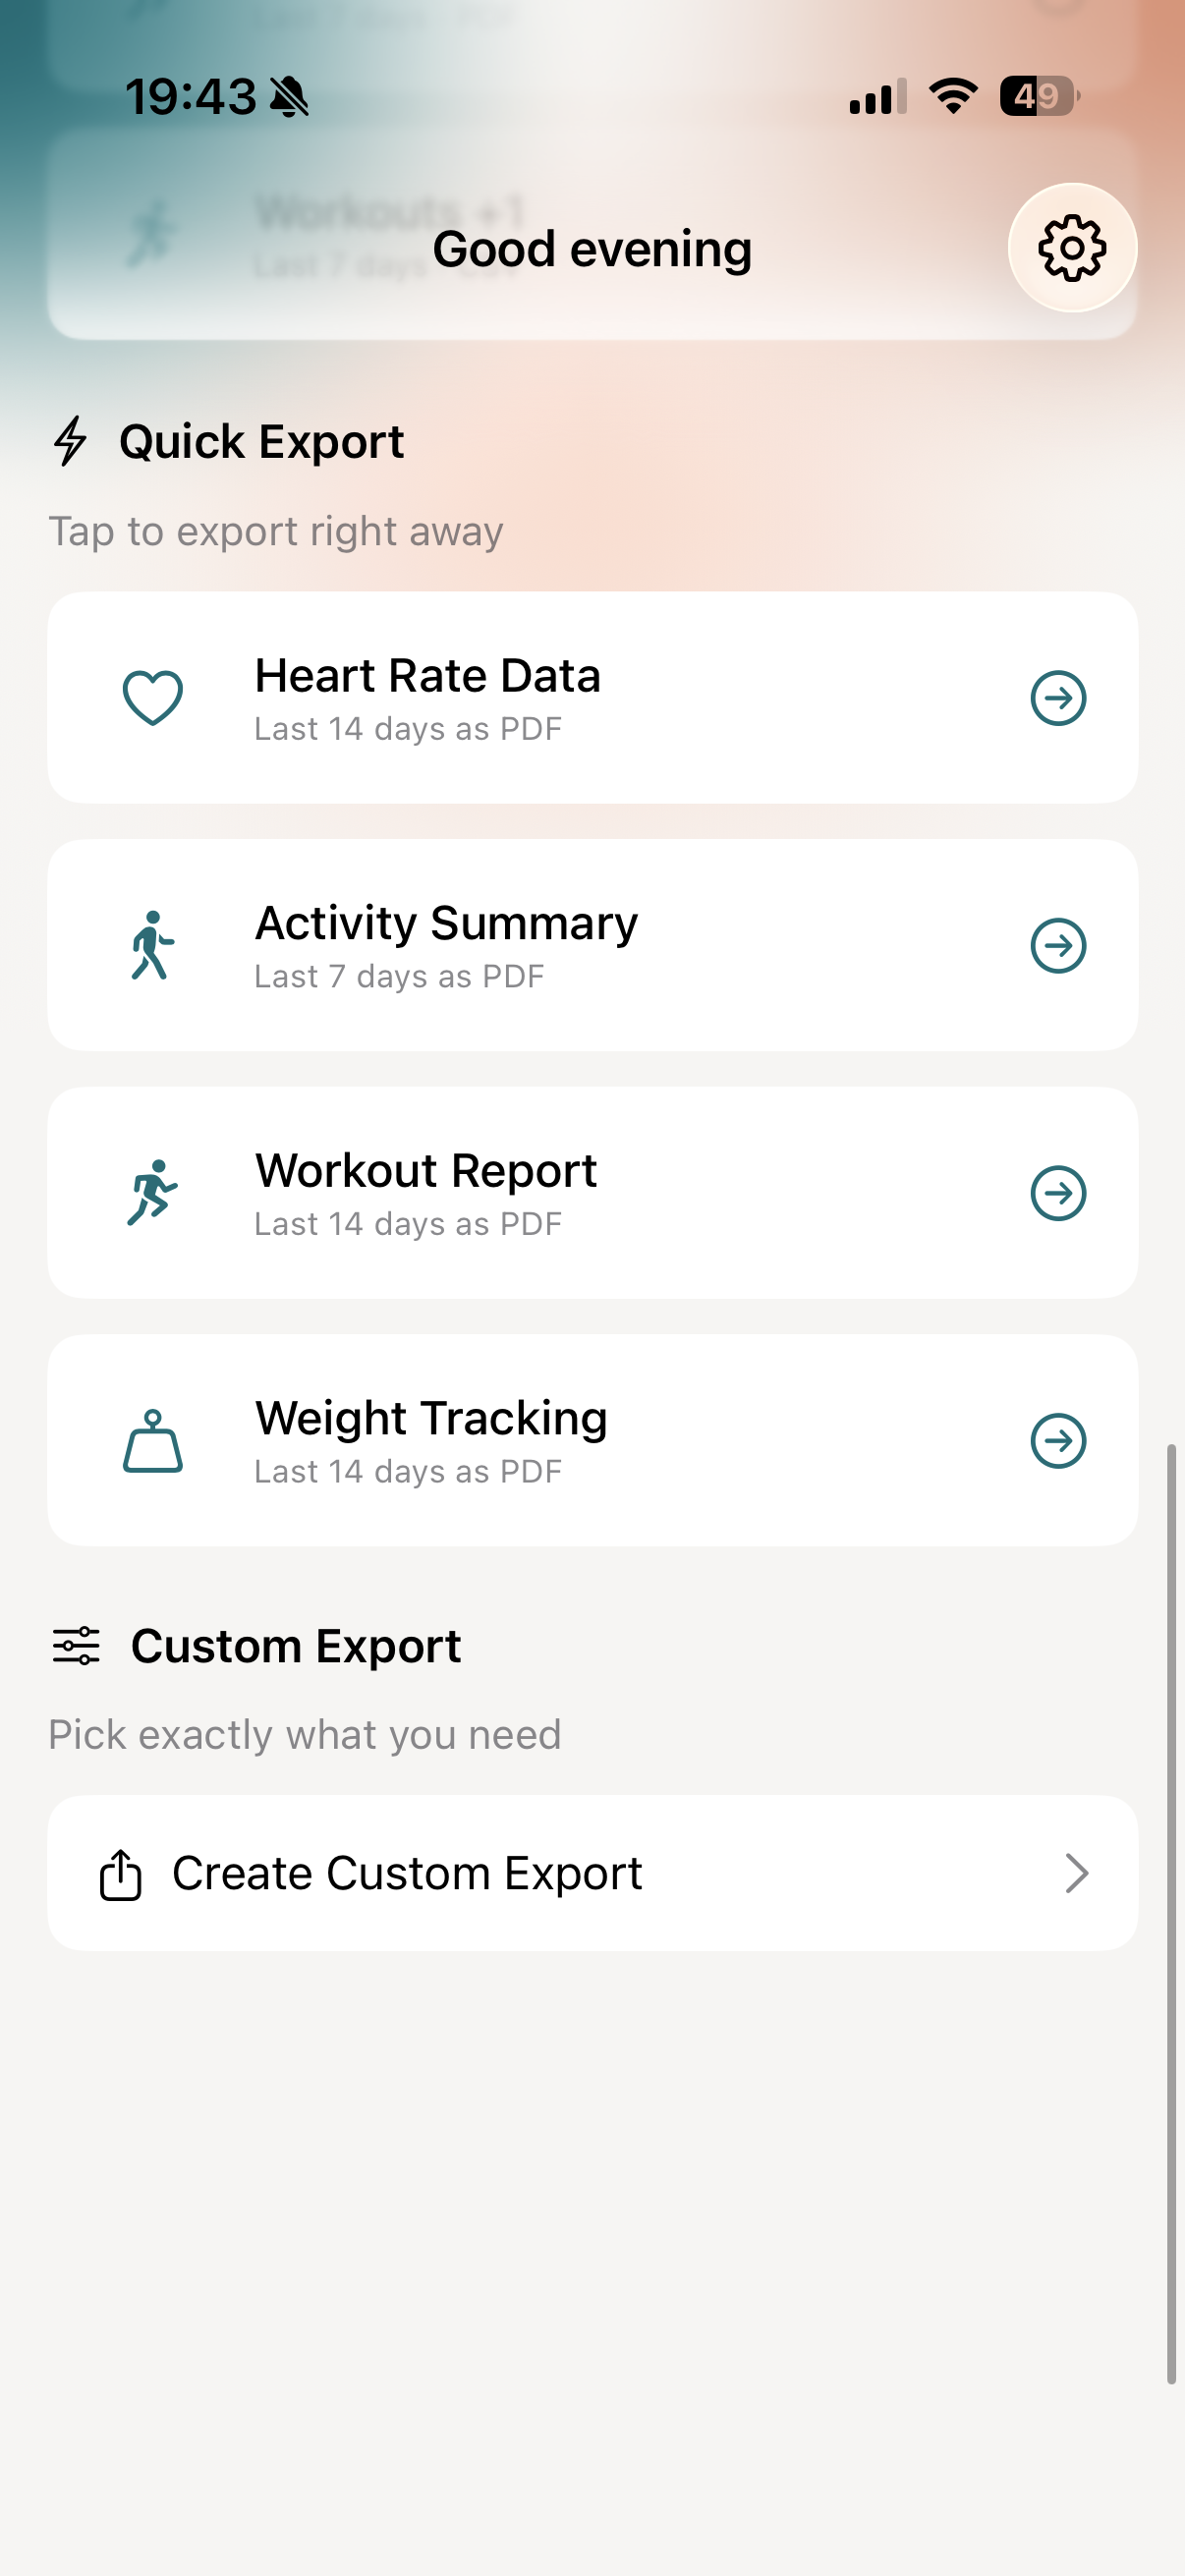
Choose a quick export or create a custom one
On the main screen, you'll see two ways to export:
- Quick Export: Pre-configured templates like "Blood Pressure for Doctor" or "Sleep Report" that export with a single tap. Great when you need a PDF report fast.
- Custom Export: Tap Create Custom Export for full control over what data you export, the date range, and the file format.
The rest of this guide walks through a custom export.
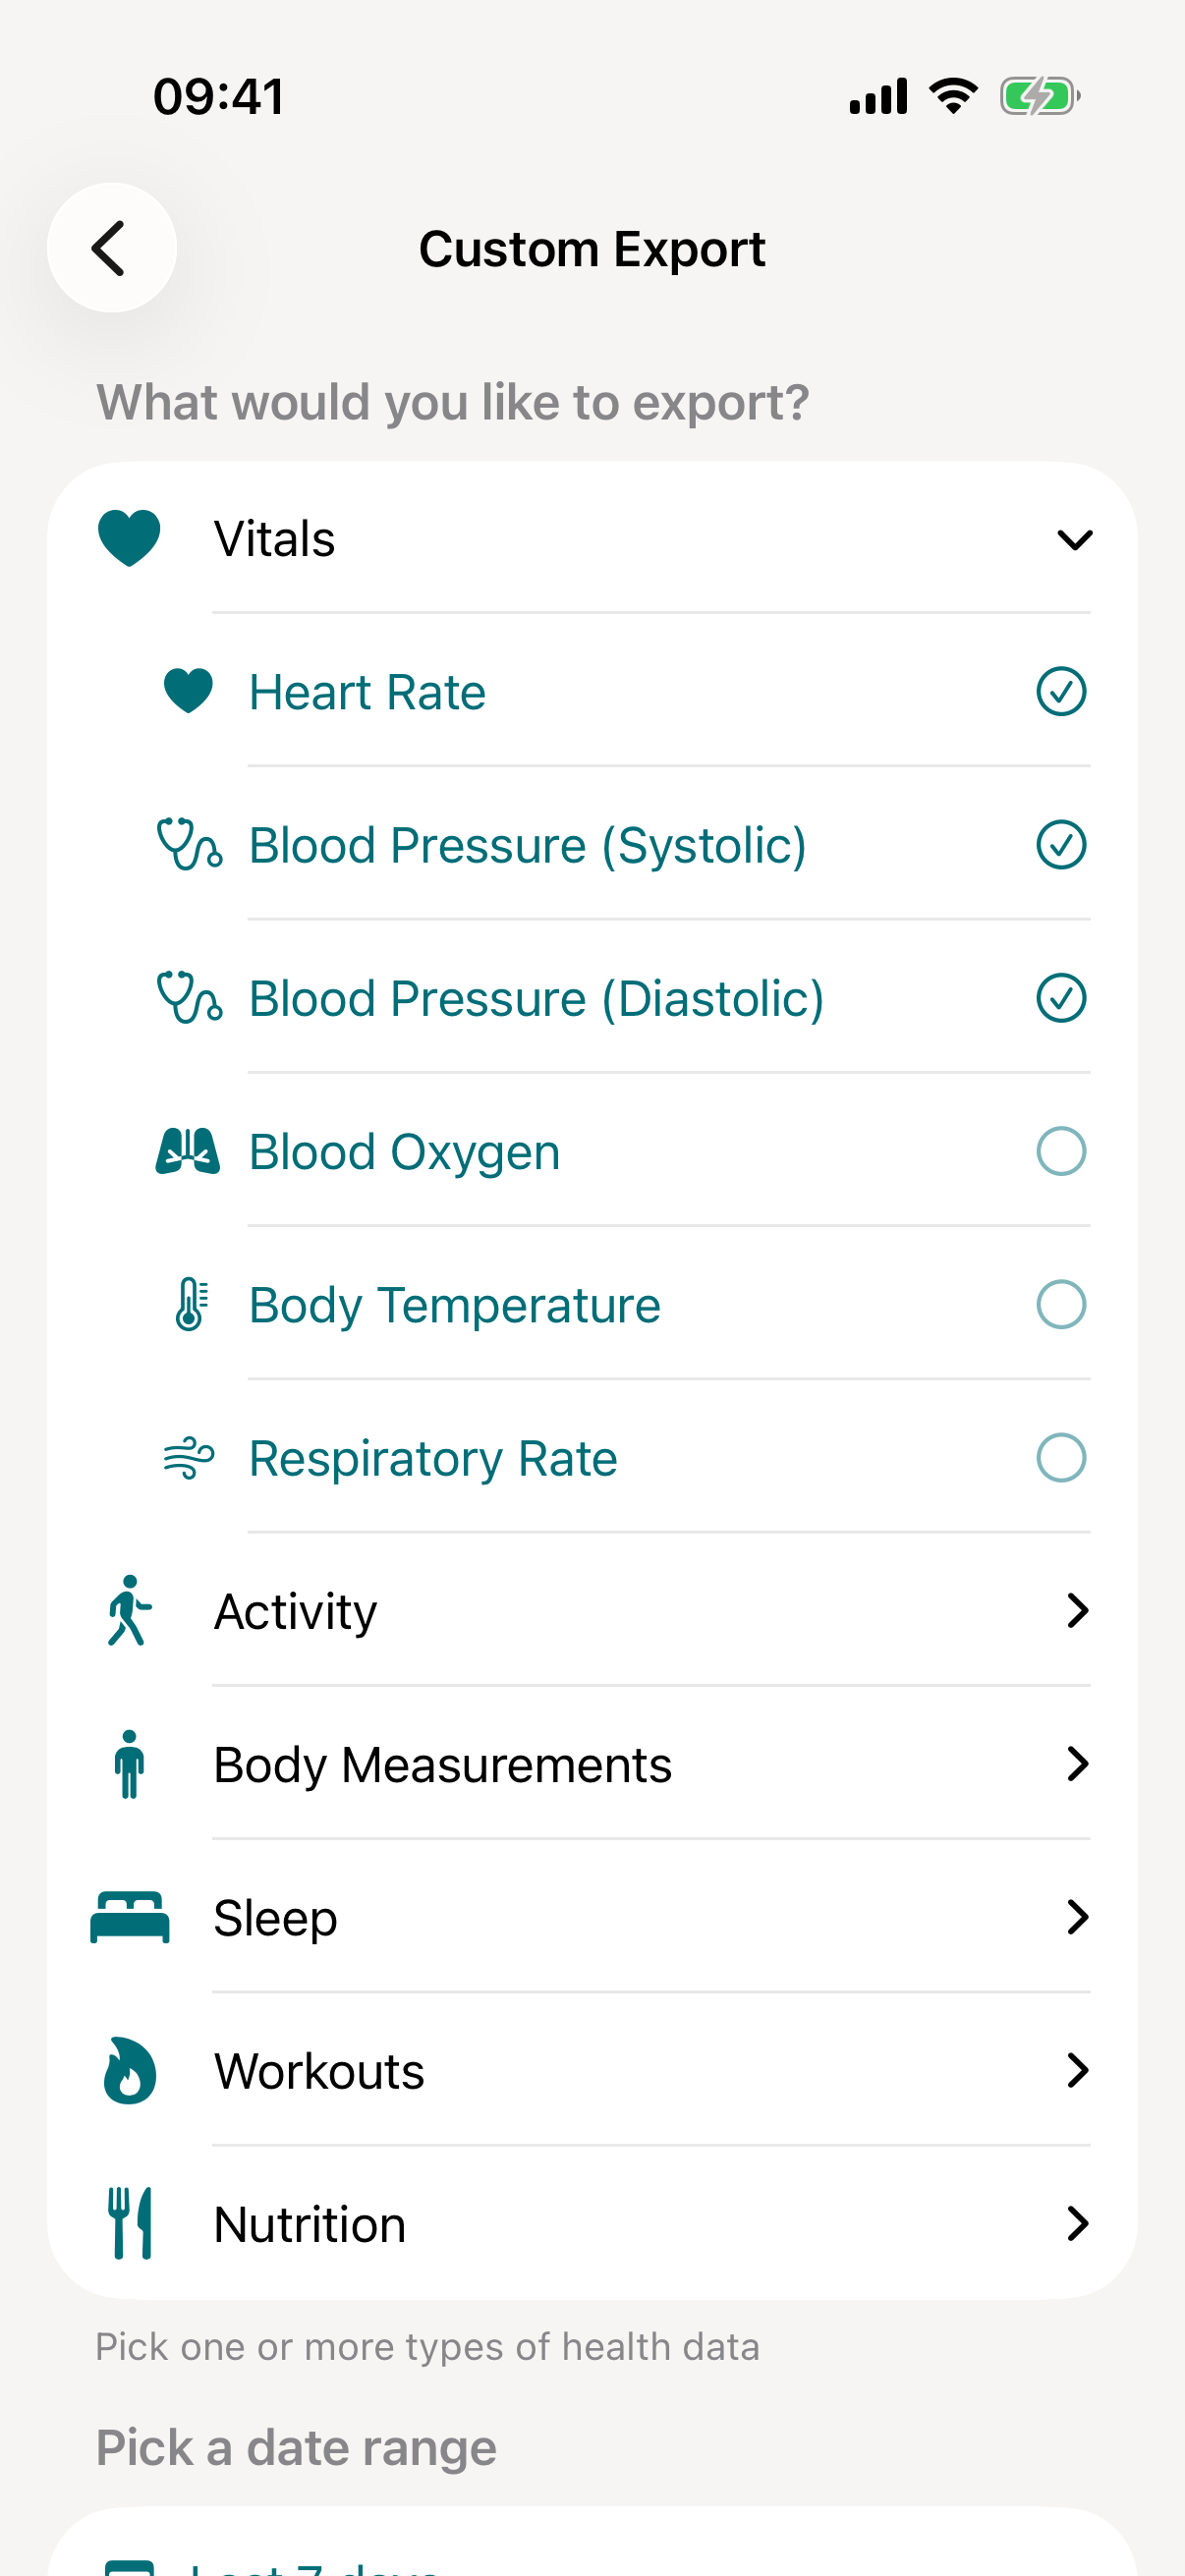
Select your health metrics
Choose which health data to include in your export. vitalina supports 100+ metrics across nine categories:
- Vitals: Heart rate, resting and walking heart rate, HRV, heart rate recovery, AFib burden, blood pressure, blood glucose, insulin delivery, blood oxygen, body temperature, respiratory rate, VO2 Max, ECG
- Activity: Steps, distance, flights climbed, active energy, exercise minutes, stand time
- Mobility: Walking speed, walking steadiness, step length, stair ascent and descent speed, six-minute walk distance
- Body Measurements: Weight, height, BMI, body fat percentage, lean body mass, waist circumference
- Sleep: Sleep analysis including REM, deep, and core sleep stages
- Workouts: Detailed workout sessions with duration, distance, heart rate, and calories
- Nutrition: Calories, macros, vitamins, minerals, and water intake
- Cycle Tracking: Menstrual flow, spotting, symptoms, basal body temperature, and more
- Mental Health: State of Mind logs and mindful minutes
You can select individual metrics or tap Export All to include everything.
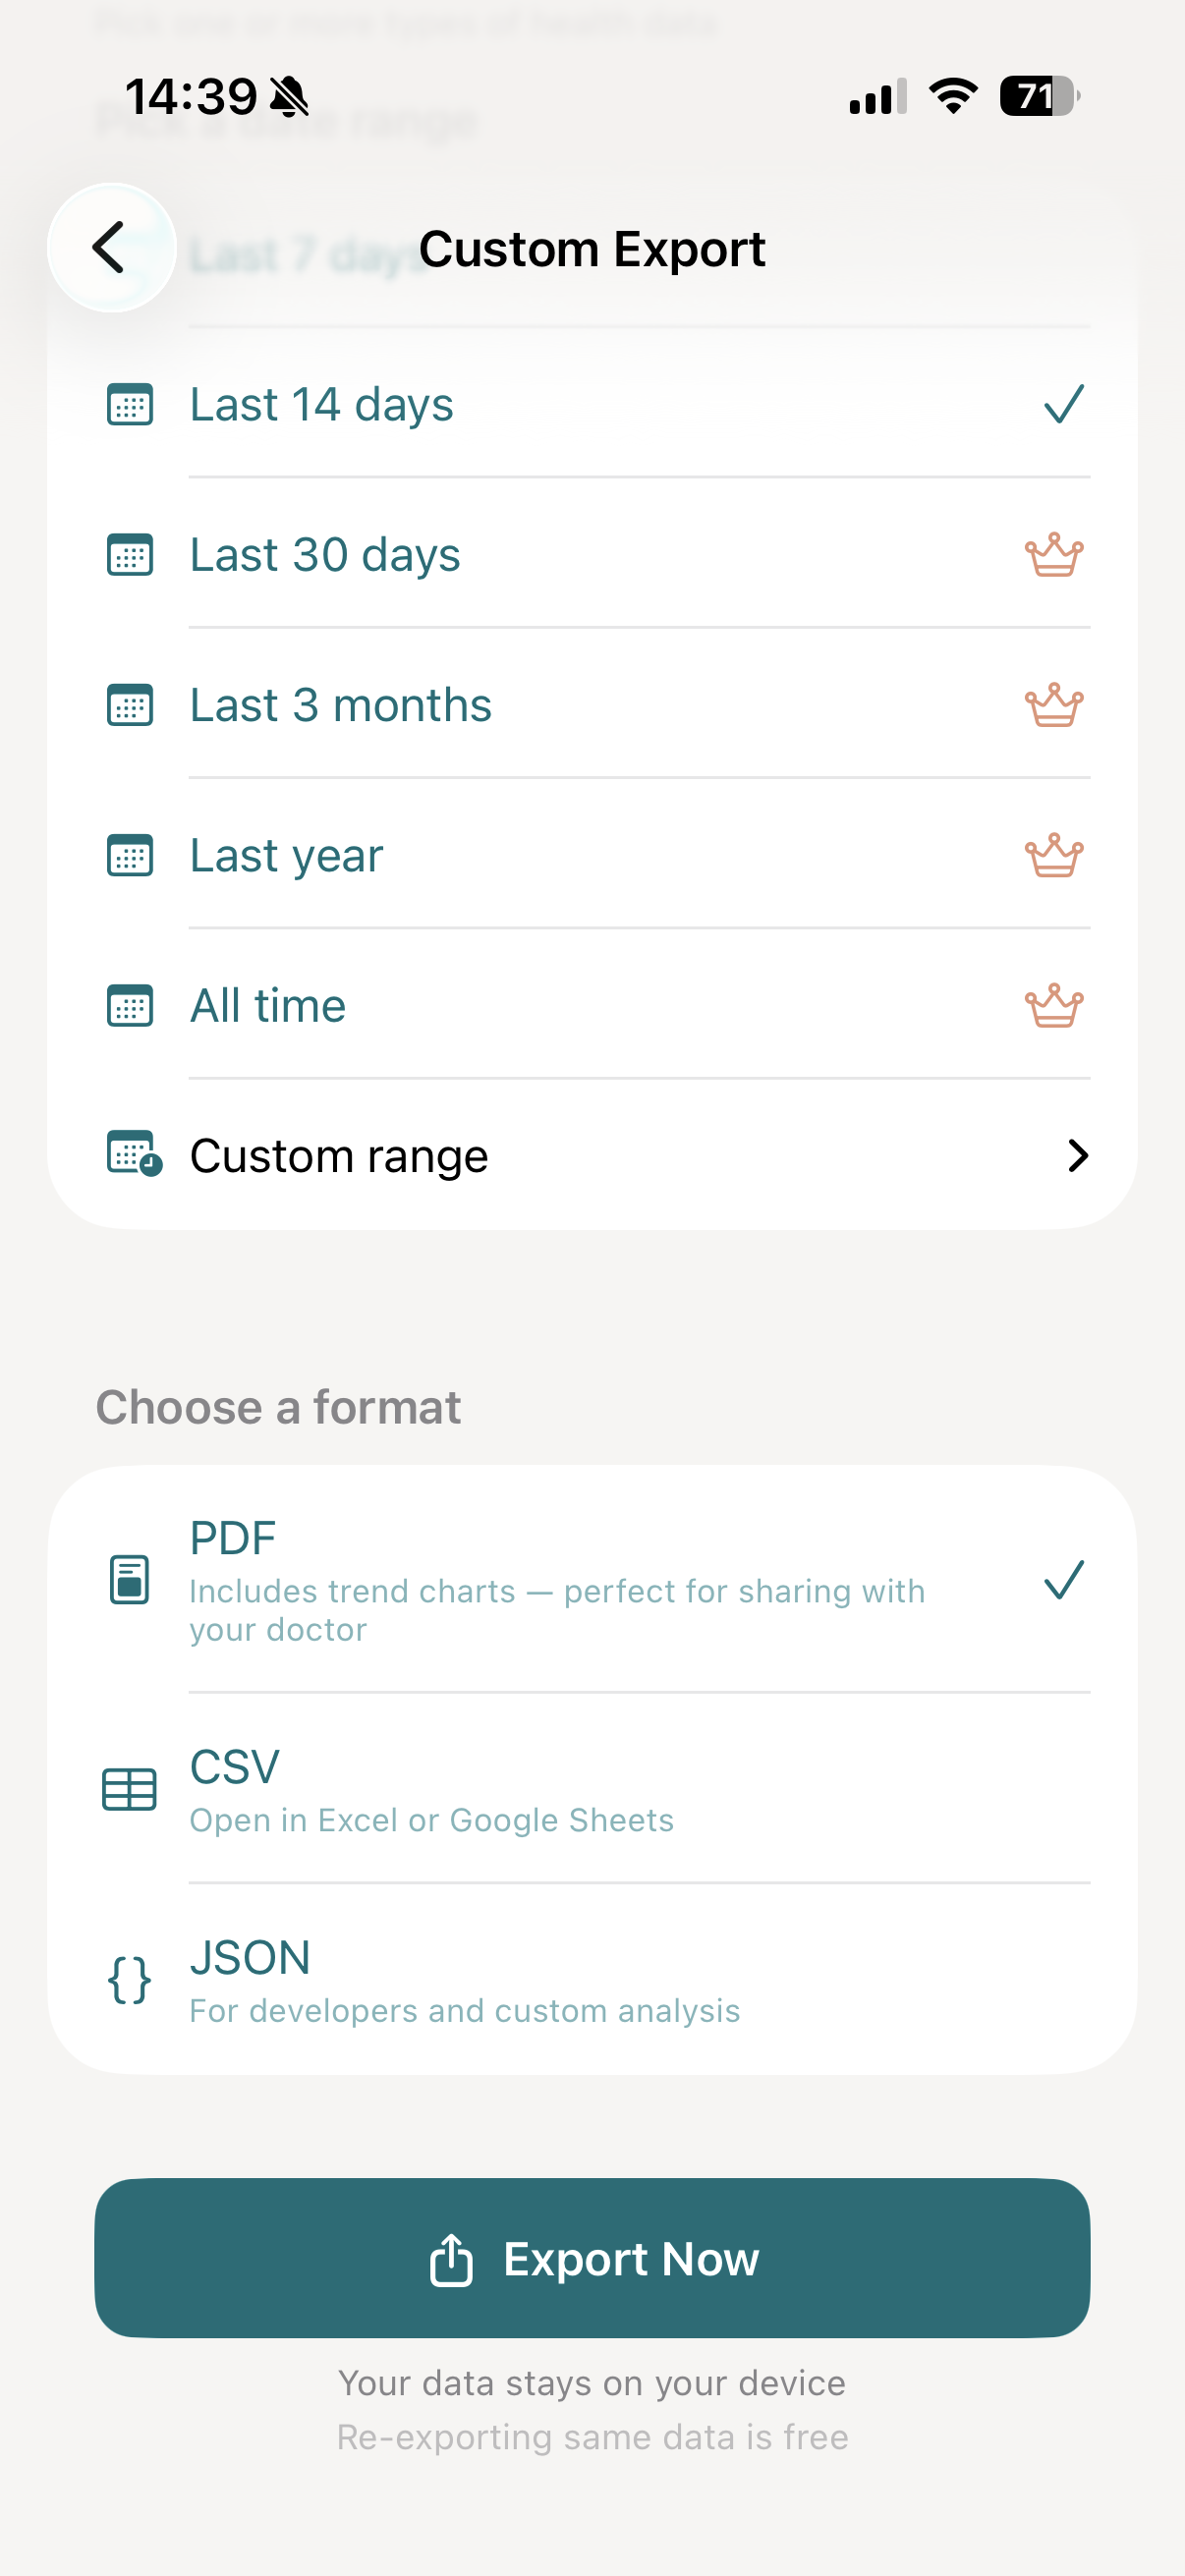
Pick a date range
Choose a preset time range or set a custom one:
- Last 7 days and Last 14 days are available for free
- Last 30 days, 3 months, 1 year, and All time are available with the one-time Pro upgrade
You can also pick exact start and end dates using the custom date range option.
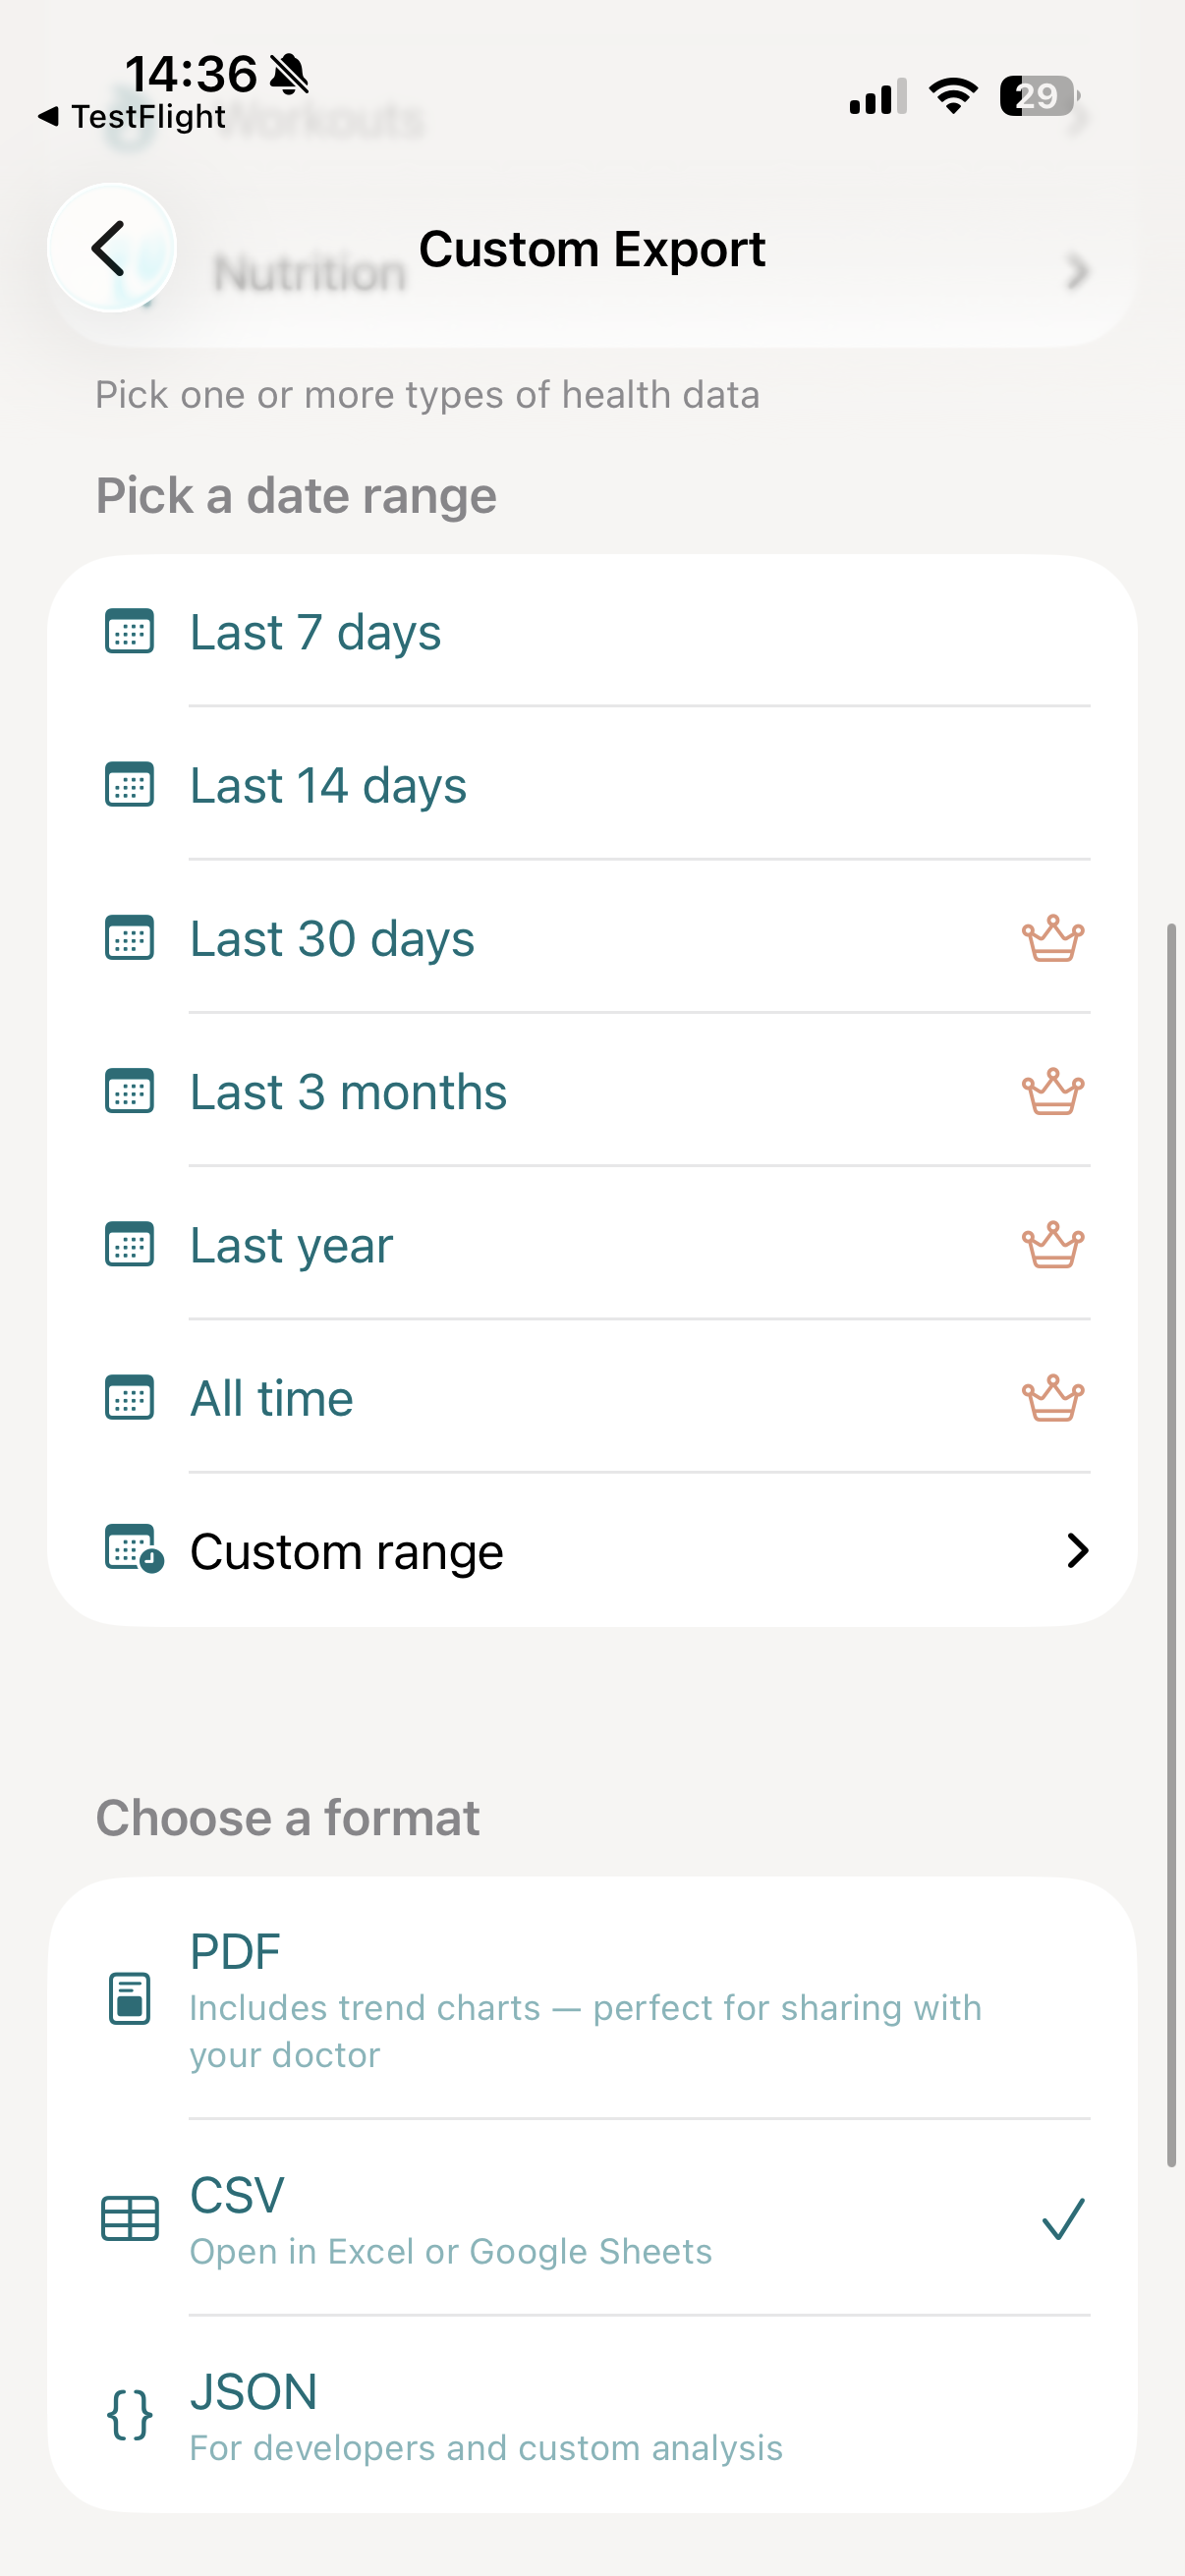
Choose your export format
Pick the format that fits your use case:
- PDF: Includes trend charts and clean formatting designed for clinical use. Perfect for sharing with your doctor, who can read it without any technical knowledge.
- CSV: Opens in Excel or Google Sheets. Ideal for spreadsheet analysis and personal data tracking.
- JSON: Structured data with summary statistics. Built for developers and custom analysis.
All three formats are available for free.
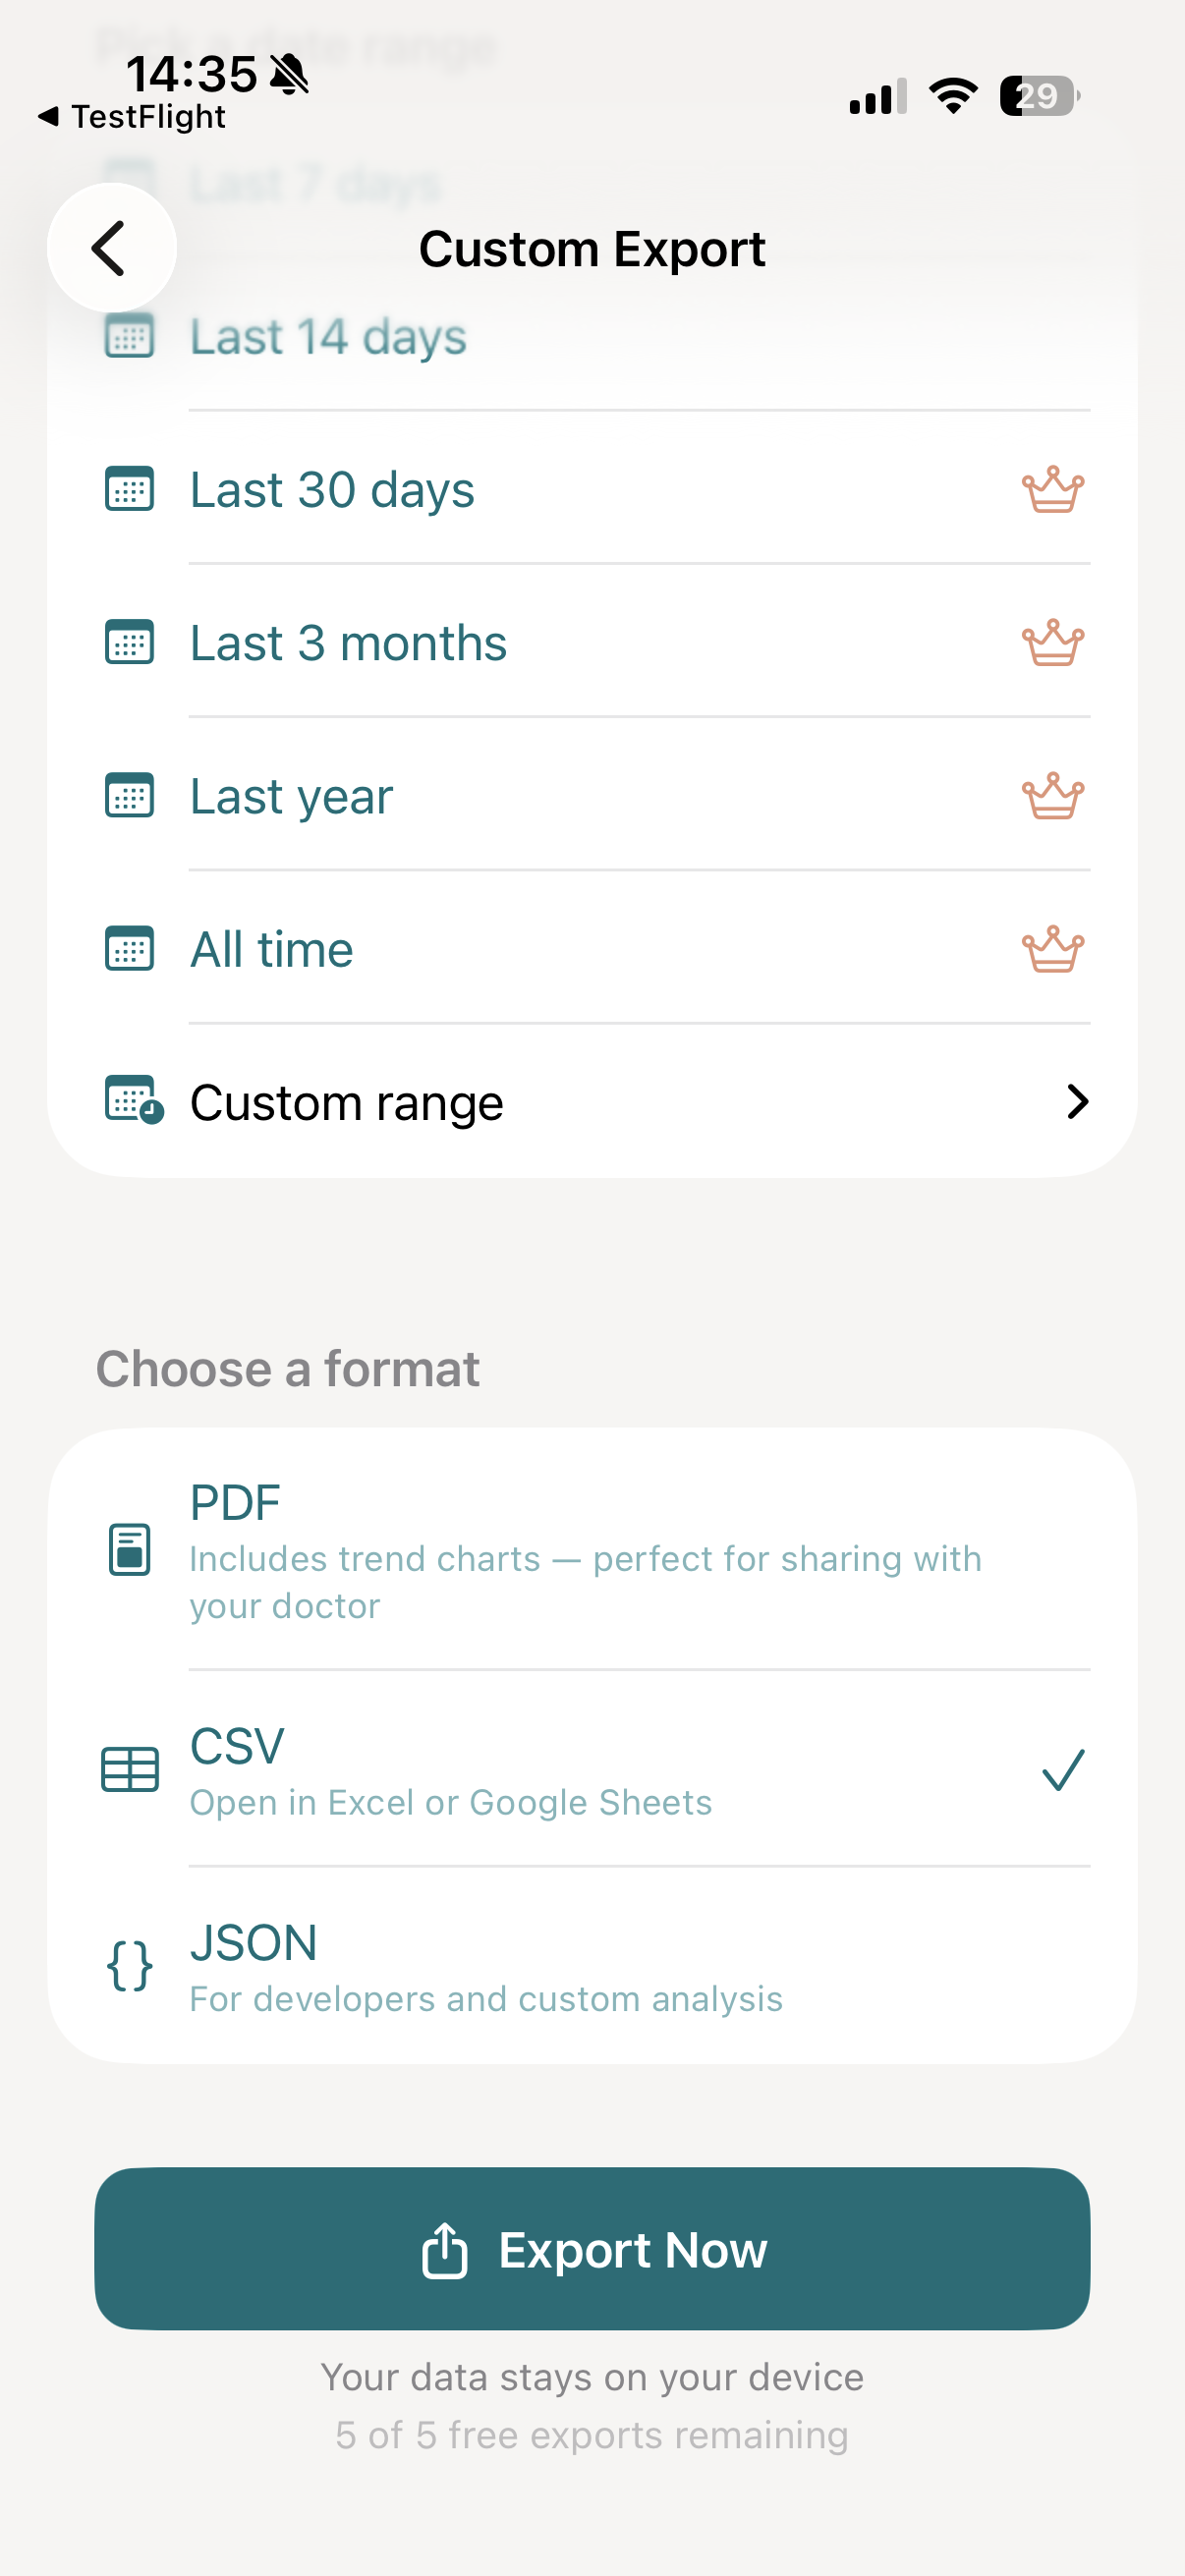
Tap "Export Now"
Tap the Export Now button. vitalina will read your health data, format the export, and generate your file, usually within seconds.
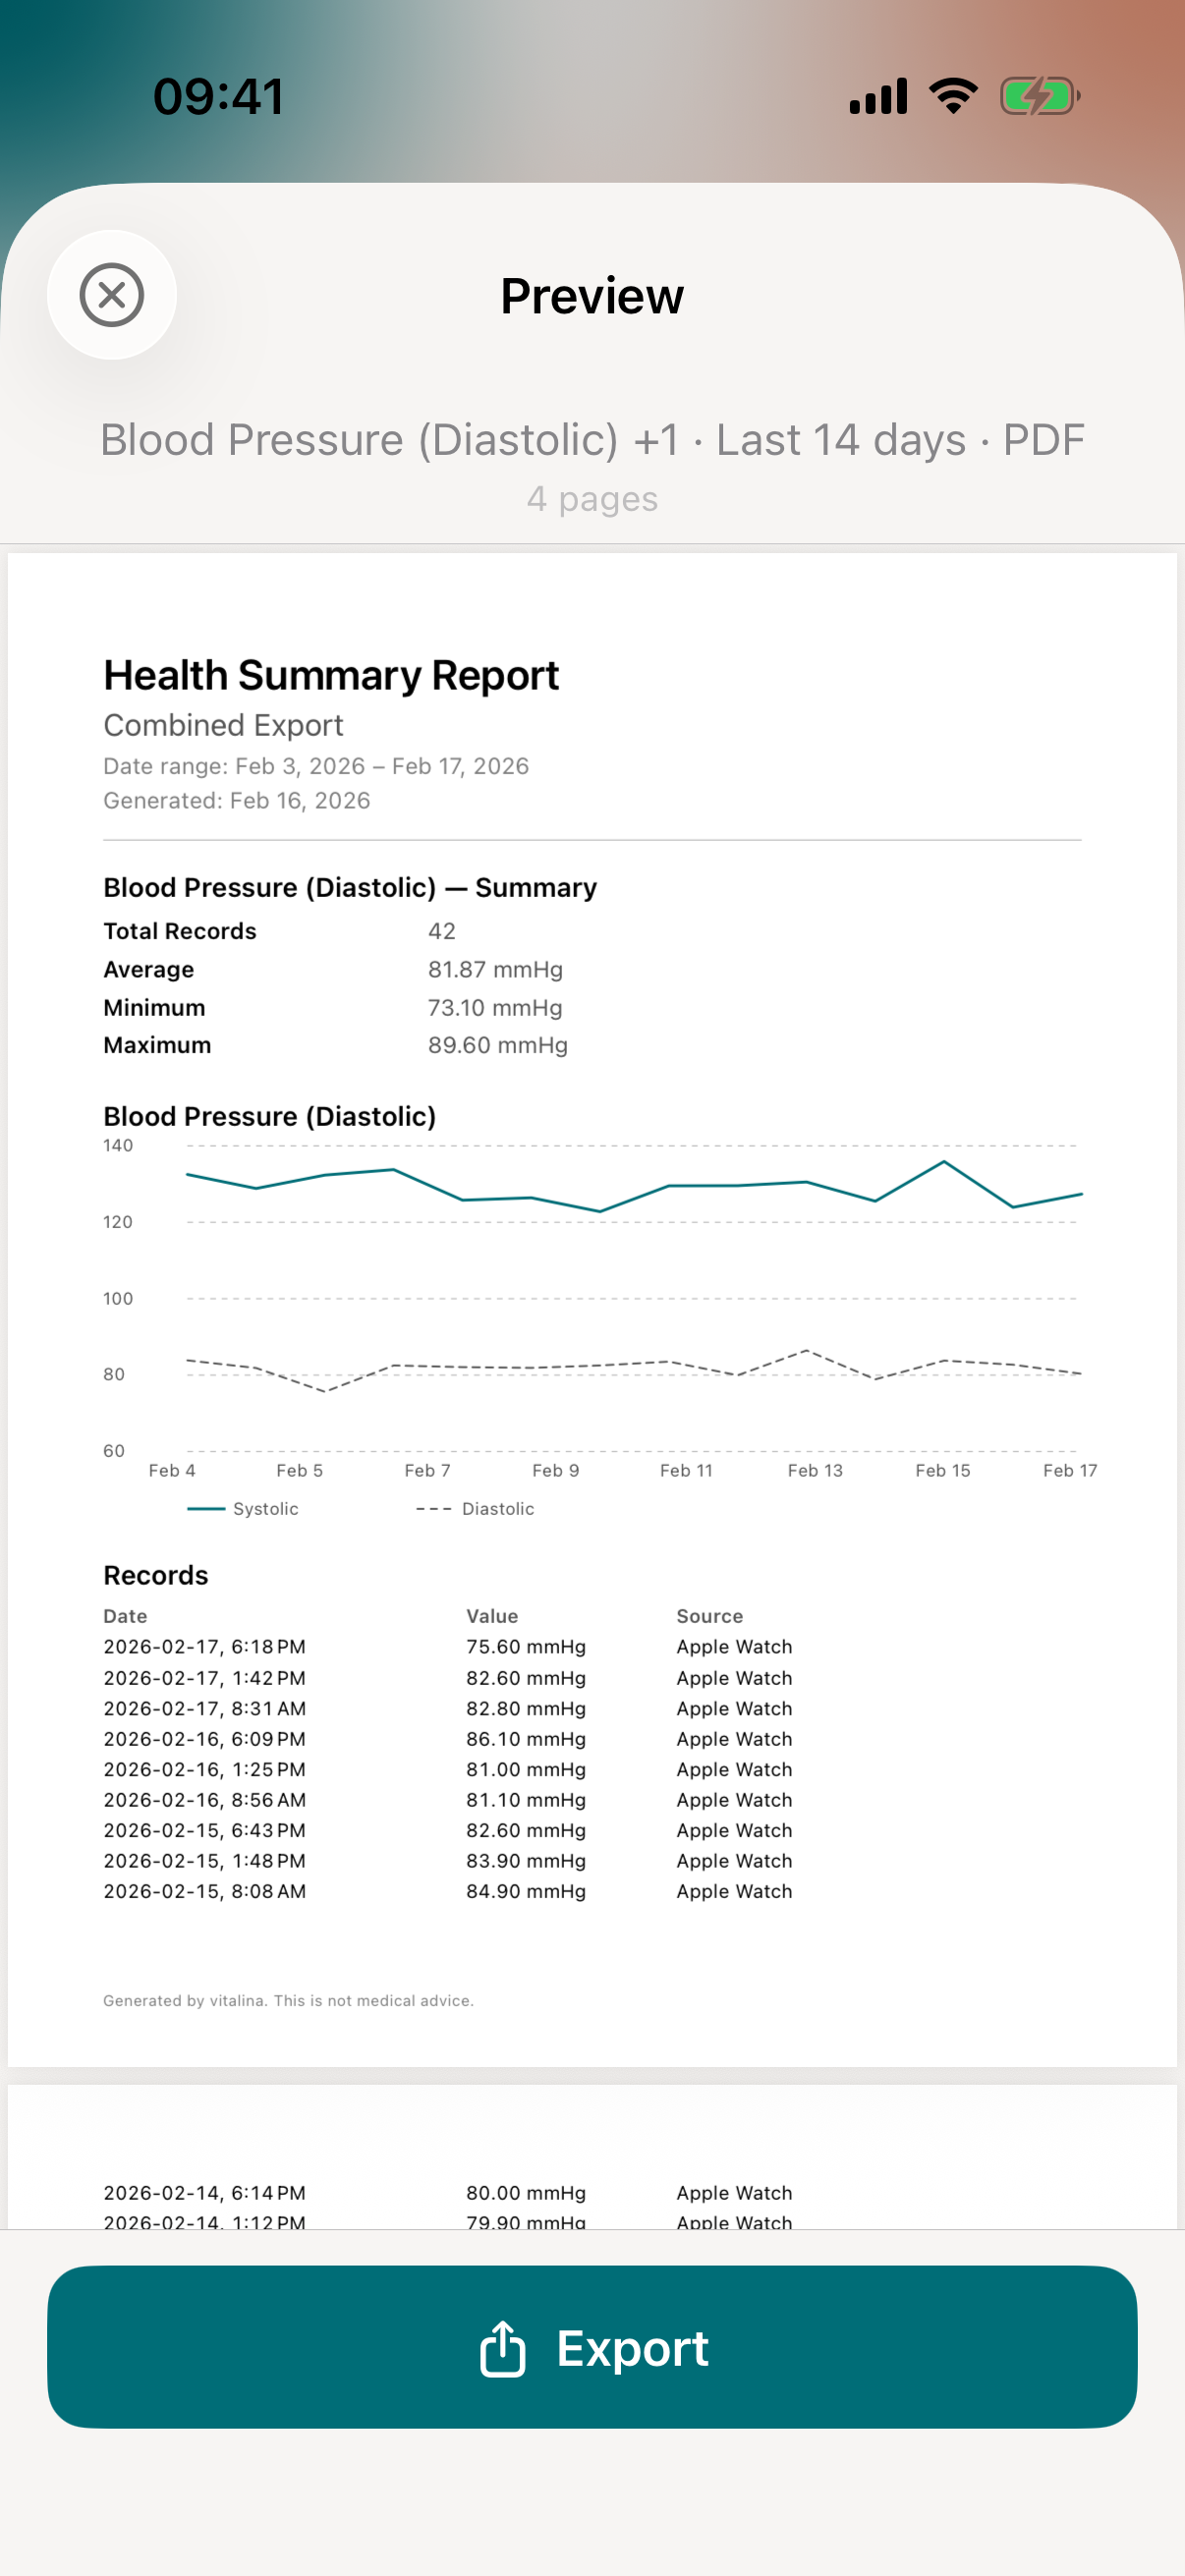
Share or save your export
Once your export is ready, you'll see a full preview of the file. From here, tap Export to open the iOS share sheet, where you can:
- Save to Files on your iPhone or iCloud Drive
- Send via email to your doctor or care team
- Share via AirDrop, Messages, or any other app
- Print a physical copy
That's it. Your Apple Health data is exported and ready to share.
Re-exporting is free
Every export you create is saved to your Recent Exports list on the main screen. You can re-run the same export at any time. Re-exporting identical data never counts toward your free export limit.
Automate recurring exports with Siri Shortcuts
If you need to export health data on a regular schedule, for example every week before a doctor's appointment, you can set up automated exports using Apple's Shortcuts app. See our step-by-step Shortcuts setup guide →
How much does vitalina cost?
vitalina is free with 5 unique exports, all formats, and date ranges up to 14 days. vitalina Pro is a one-time purchase from €3.99 (max €4.99 by region, no subscription) that unlocks unlimited exports, extended date ranges up to all time, and Shortcuts automation. Re-exporting the same data is always free.